Most epoxy floors don't fail because of bad products. They fail because of what happened — or didn't happen — before the first coat went down.
If your epoxy floor is already bubbling, peeling, or flaking — and it hasn’t even been two years — you’re not alone, and it’s almost certainly not the product’s fault. The overwhelming majority of epoxy failures come down to one thing: what happened before the first coat was ever applied. Surface preparation is where floors are won or lost, and it’s also where most contractors cut corners. This guide walks you through what proper installation actually looks like, why Nassau County’s coastal environment makes the stakes even higher, and what questions to ask before you let anyone near your concrete.
Ask most people what makes a good epoxy floor and they’ll say the coating itself — the brand, the thickness, the finish. That’s understandable, but it’s the wrong answer. Industry data consistently points to inadequate surface preparation as the cause of roughly 80% of all epoxy floor failures. The coating is only as good as what it’s bonded to.
Proper concrete surface preparation means mechanically profiling the slab so the epoxy has something real to grip. That’s not a mop, not a pressure washer, and not acid etching. It means diamond grinding equipment that creates what the industry calls a Concrete Surface Profile — a specific texture depth that gives the coating mechanical adhesion rather than just surface contact. Without it, you’re essentially gluing something to a smooth wall and hoping it holds.
Acid etching used to be common. It’s cheap, fast, and looks like it’s doing something. The problem is it doesn’t reliably create the surface profile that epoxy systems require, it leaves chemical residue behind that interferes with adhesion, and it does nothing to remove oil contamination, existing coatings, or deeply embedded debris. The industry has largely moved away from it, but plenty of contractors still use it because it saves time and equipment costs.
Diamond grinding is different. It mechanically removes the top layer of the concrete surface, opens the pores of the slab, and creates a consistent texture profile — the ICRI standard calls for CSP 2 to 3 for most epoxy systems. That texture is what allows the epoxy to physically lock into the concrete rather than just sit on top of it. When you skip this step or do it halfway, the bond is weak from day one. It might look fine for six months. Then it starts to lift.
This is also why the equipment matters. A professional contractor arrives with commercial-grade grinding machines — not a rented unit from a home improvement store. The difference in the finished profile is significant, and so is the difference in how long that floor performs under real conditions. A warehouse floor in Carle Place handling daily forklift traffic has very different demands than a residential garage, and the prep work needs to reflect that.
We’ve been doing this for 35 years across Nassau County, and the floors we installed in the 1990s that are still performing today all have one thing in common: the prep was done right the first time. The ones that failed — and we’ve seen plenty of other contractors’ work come apart — almost always trace back to a shortcut taken before the first coat went down.
Surface profile is only half the equation. The other half is moisture — and this is where Nassau County’s geography creates a challenge that a lot of contractors from outside the area simply aren’t prepared for.
Nassau County sits between the Atlantic Ocean to the south and Long Island Sound to the north. Communities along the South Shore — Long Beach, Oceanside, Freeport, Rockville Centre, Lynbrook — have concrete slabs that sit close to the water table and deal with elevated groundwater pressure year-round. The same is true for waterfront communities on the North Shore like Sea Cliff, Port Washington, and Bayville. In the summer months, when ambient humidity regularly climbs above 70 or 80 percent, moisture vapor emission from concrete slabs increases significantly across the entire county.
When moisture vapor pushes up through a slab and encounters a sealed coating above it, the pressure has nowhere to go. The result is bubbling, blistering, and eventually delamination. This isn’t a product failure — it’s a preparation failure. The moisture was there before the coating went down, and no one tested for it.
Industry standards require concrete moisture vapor emission to stay below 3.0 pounds per 1,000 square feet per 24 hours before any epoxy system is applied. If it exceeds that threshold, a moisture mitigation primer or barrier system needs to go down first. Skipping this step on a Nassau County slab — especially near the coast — is a gamble that usually doesn’t pay off.
We operate a companion company, Advanced Moisture Testing, specifically because this problem is that common and that consequential in this region. Every job we take on starts with a proper moisture assessment. It adds time to the process. It’s worth it every single time.
Want live answers?
Connect with an Advanced Epoxy Flooring expert for fast, friendly support.
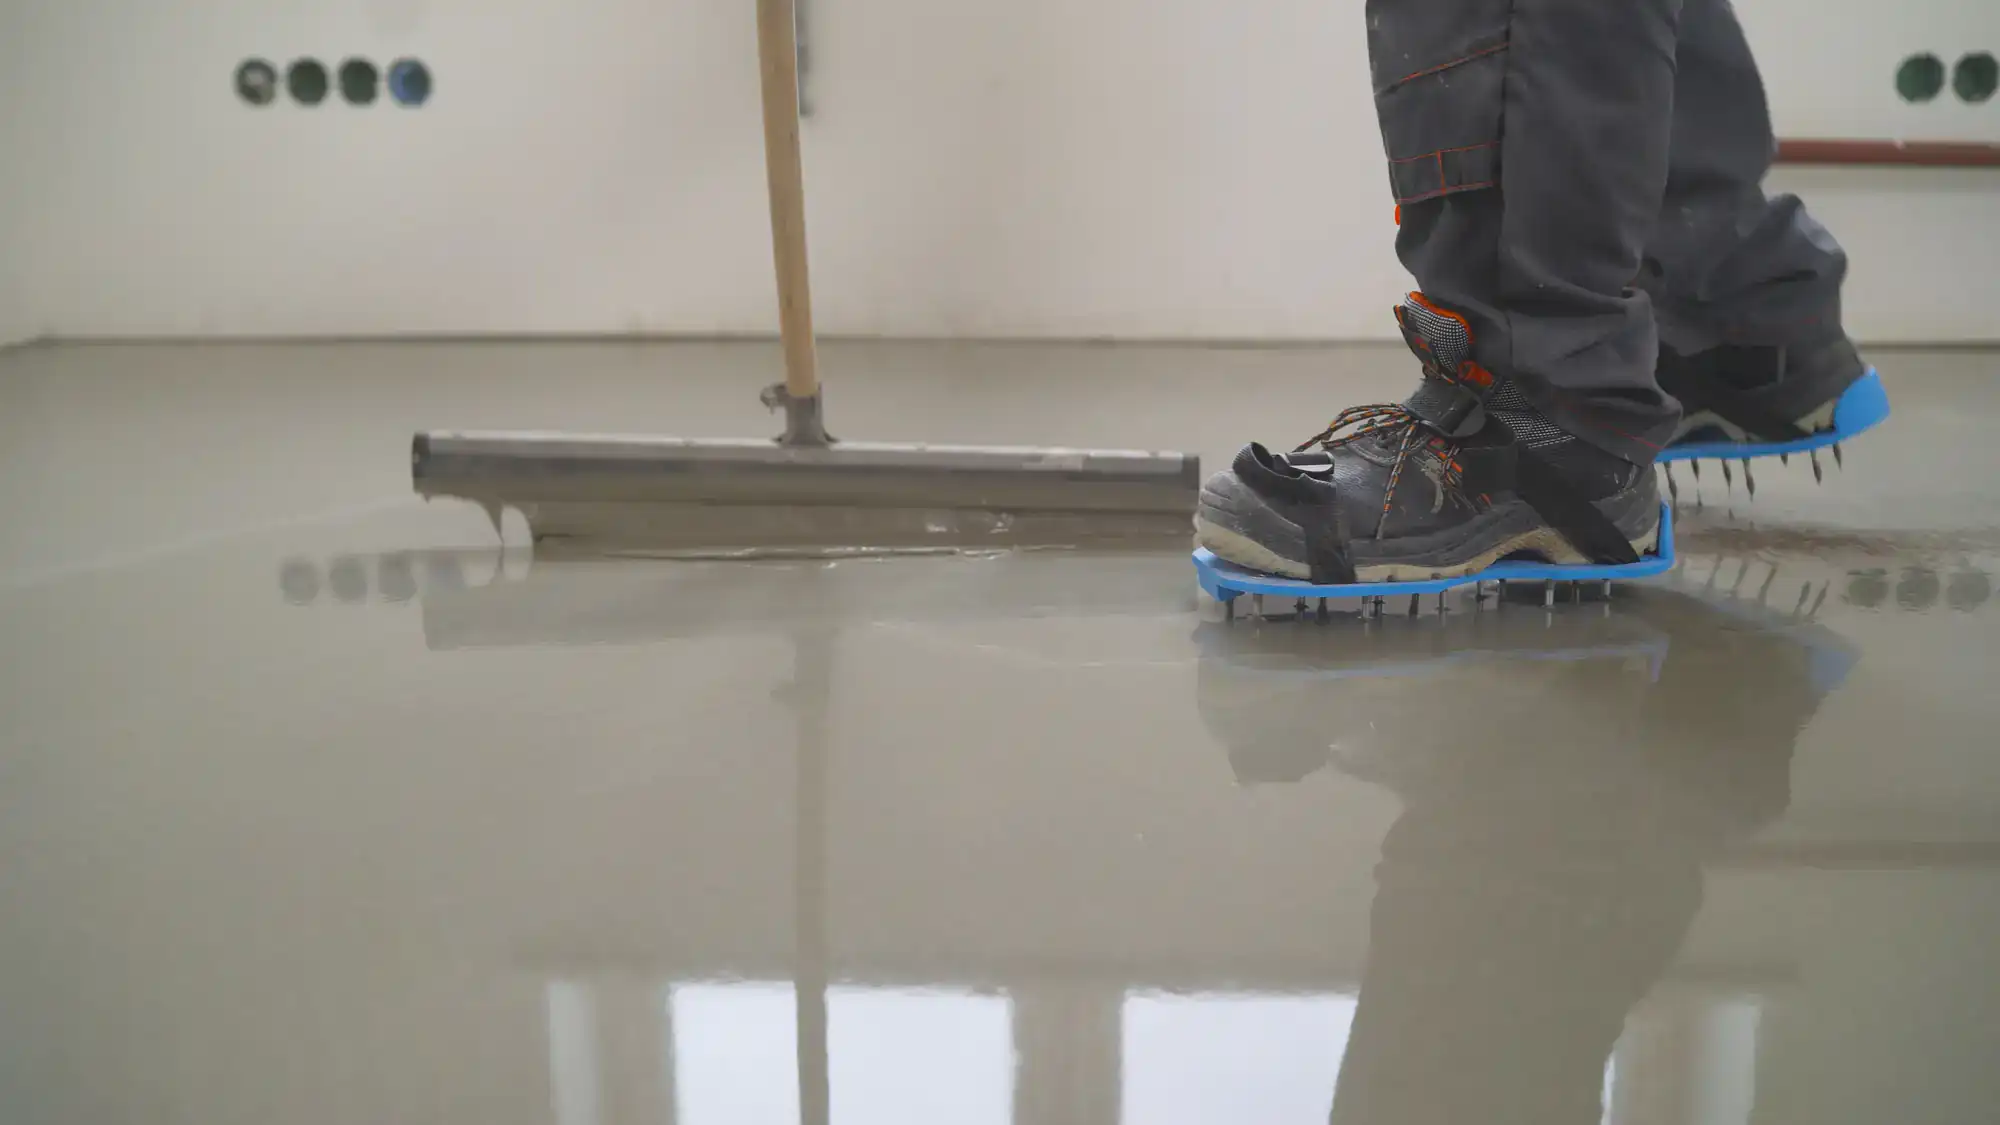
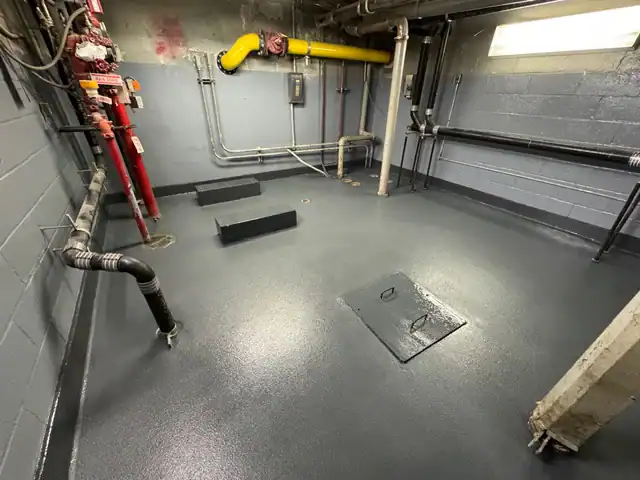
Once the concrete is properly prepared and moisture levels are confirmed, the installation itself follows a deliberate sequence. A professional system isn’t one coat of epoxy rolled on and left to cure. It’s a multi-layer build — primer, base coat or coats, and a topcoat — each applied in sequence with appropriate cure time between layers. The system is matched to the specific environment: a commercial kitchen in Hempstead needs a USDA-approved, thermally shock-resistant system that can survive caustic degreasers and daily power washing. A healthcare facility in Mineola needs antimicrobial properties and compliance with ADA and OSHA standards. A distribution warehouse near the I-495 corridor needs a system rated for heavy forklift traffic and chemical exposure.
Getting the system wrong for the environment is its own category of failure — and it happens when contractors treat all epoxy jobs the same way.
This is usually one of the first questions commercial and industrial clients ask, and it’s a fair one. Downtime costs money. A warehouse that can’t operate for a week is a real problem, not a minor inconvenience.
The honest answer is that a professional installation — done correctly, with proper prep — typically takes a few days on-site, and most floors are ready for light foot traffic within 24 hours and full operational traffic within 48 to 72 hours depending on the system. That’s not a marketing claim. That’s the result of using commercial-grade industrial systems and an experienced crew that knows how to sequence the work efficiently.
What slows jobs down is usually discovered during preparation — unexpected cracks, spalls, or moisture levels that require remediation before coating can begin. This is exactly why a thorough assessment before the job starts matters. Surprises mid-installation are more disruptive and more expensive than addressing known conditions upfront.
Our crew of 14 installers has been doing this work for a long time — most of them for over a decade with us. That experience means the job moves at a pace that respects your schedule without sacrificing the steps that make the floor last. We’ve installed floors in firehouses, aircraft hangars, healthcare facilities, and commercial kitchens across Nassau County and beyond, and the timeline discipline is the same on every job.
For Nassau County businesses that operate six or seven days a week — restaurants along Sunrise Highway, auto dealerships on Northern Boulevard, medical offices throughout the county — minimizing disruption isn’t optional. It’s the whole point.
Bubbles in an epoxy floor almost always point back to one of two things: moisture in the concrete that wasn’t properly addressed before installation, or outgassing from the slab during the curing process. Neither of these is a product defect. Both are preparation failures.
When moisture vapor pushes up through a concrete slab after the epoxy has been applied, it creates pressure beneath the coating. That pressure has to go somewhere, and it forms bubbles — sometimes small pinholes, sometimes larger blisters. In Nassau County, where coastal groundwater and summer humidity already put slabs under elevated moisture pressure, this is one of the most common complaints we hear from people who had their floors done by someone who didn’t test first.
Outgassing is a related but slightly different issue. Concrete is a porous material, and when it’s not properly sealed with a penetrating primer coat before the main epoxy application, air trapped in the pores can escape upward through the wet coating as it cures. The result looks similar — small bubbles or pinholes in the finished surface. A proper multi-layer system with the right primer eliminates this.
If you’re looking at a floor that’s already bubbling, the fix unfortunately involves removing the compromised coating, addressing the underlying moisture issue, and starting the installation over correctly. There’s no patch that holds long-term when the root cause hasn’t been resolved. It’s a frustrating situation, and it’s one we see regularly when clients come to us after a previous contractor’s work has failed — particularly in South Shore communities like Oceanside and Valley Stream where ground moisture is a persistent factor.
The good news is that a floor installed correctly, with moisture testing and proper surface preparation, doesn’t develop this problem. It’s not inevitable. It’s preventable.
A floor that fails costs you twice — once when you pay for it, and again when you pay to have it fixed. The difference between a floor that lasts 15 or 20 years and one that starts coming apart in 18 months isn’t the brand on the bucket. It’s whether the concrete was properly prepared, whether moisture was tested and addressed, and whether the system was matched to the actual demands of your space.
Nassau County’s environment — the coastal humidity, the aging building stock, the high-traffic commercial corridors — makes those fundamentals more important here than in most markets. Cutting corners on surface prep or skipping moisture testing on a South Shore slab isn’t just a risk. It’s a near-certain path to a failed floor.
If you’re evaluating contractors and want to understand exactly what the process should look like for your facility, we’ve been doing this work on Long Island for 35 years. Reach out and we’ll give you a straight answer about your project.
Summary:
Article details:
Share: